How to Replace Sims 4 Gallery Images with Tray Importer
Who says you have to settle for the dull pictures you get in the Sims 4 Gallery? With Tray Importer, you can swap out awkward shots for stylish images that really show off the beauty of your creations and make them stand out in the endless list. Keep reading to learn how to do it quickly and easily!
Step 1 Prep in the game itself
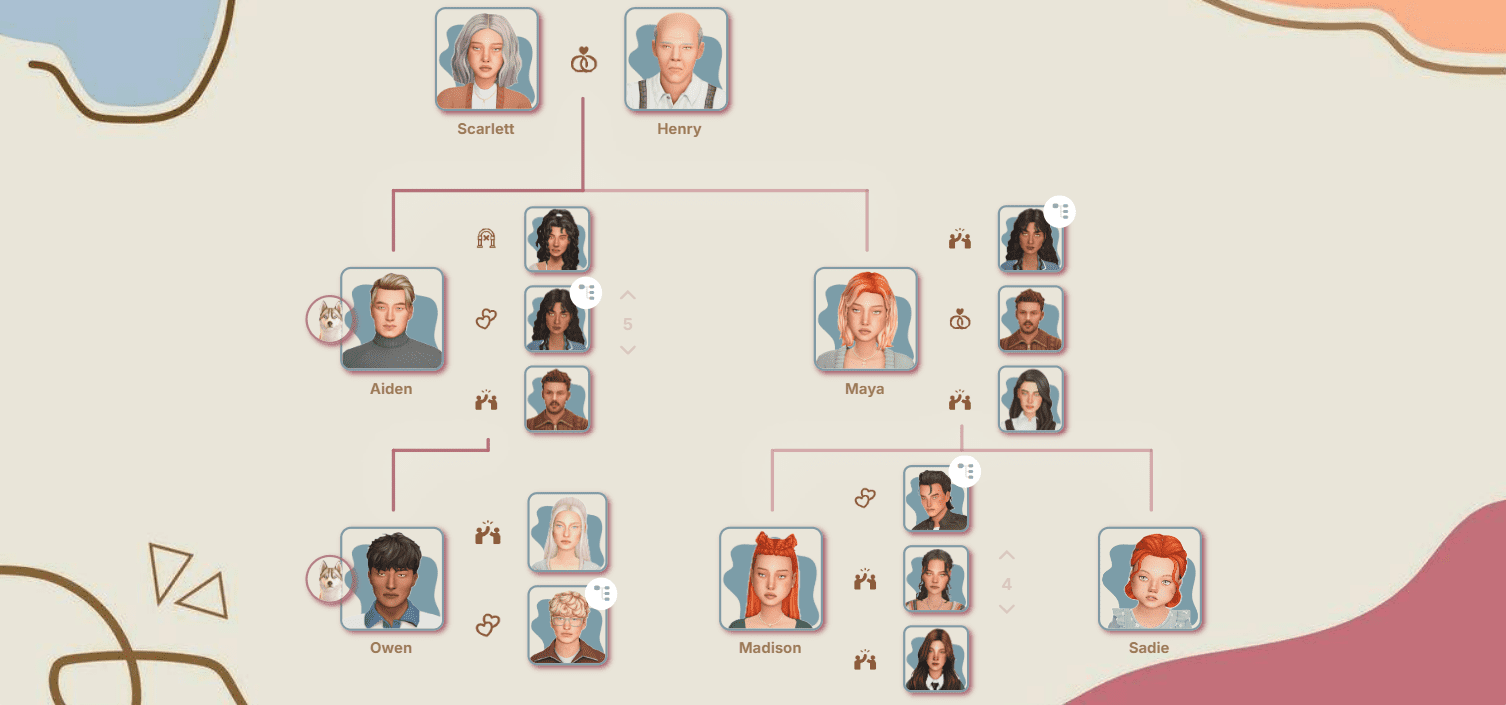
1. Save the lot, family, or room to your Library.
2. Go to the Library, click on the saved item, and see how many images its card contains. You can prepare exactly that many replacement images (if you want to replace them all, of course).
For example, a family card includes: a group family photo and individual photos of each member. If you only want to swap out the preview that shows in the Gallery, just prep one image. If you want to replace everything, add the number of family members to the group photo.
3. The fun part: photos.
Go to the lot or into CAS and take some nice shots for your future replacements (you’ll find lots of helpful tips in our Sims 4 photography guide).
Now you know the maximum number of images you can swap, so keep that in mind and stock up on photos.
Of course, you don’t have to stick to the in-game logic: you don’t need to add a separate shot for each family member – swap everything for cute family moments if you want; you don’t have to snap every floor of the house – focus on the moments with the best vibe. You can put the creator’s name on the preview, or a link to your page… In this case, you’re only limited by the number of images, not their content – get creative :)
4. Save and exit the game.
It’s very important to exit The Sims: otherwise, you won’t be able to replace the images.
Working with Tray Importer
Step 2 Launch Tray Importer and select your object
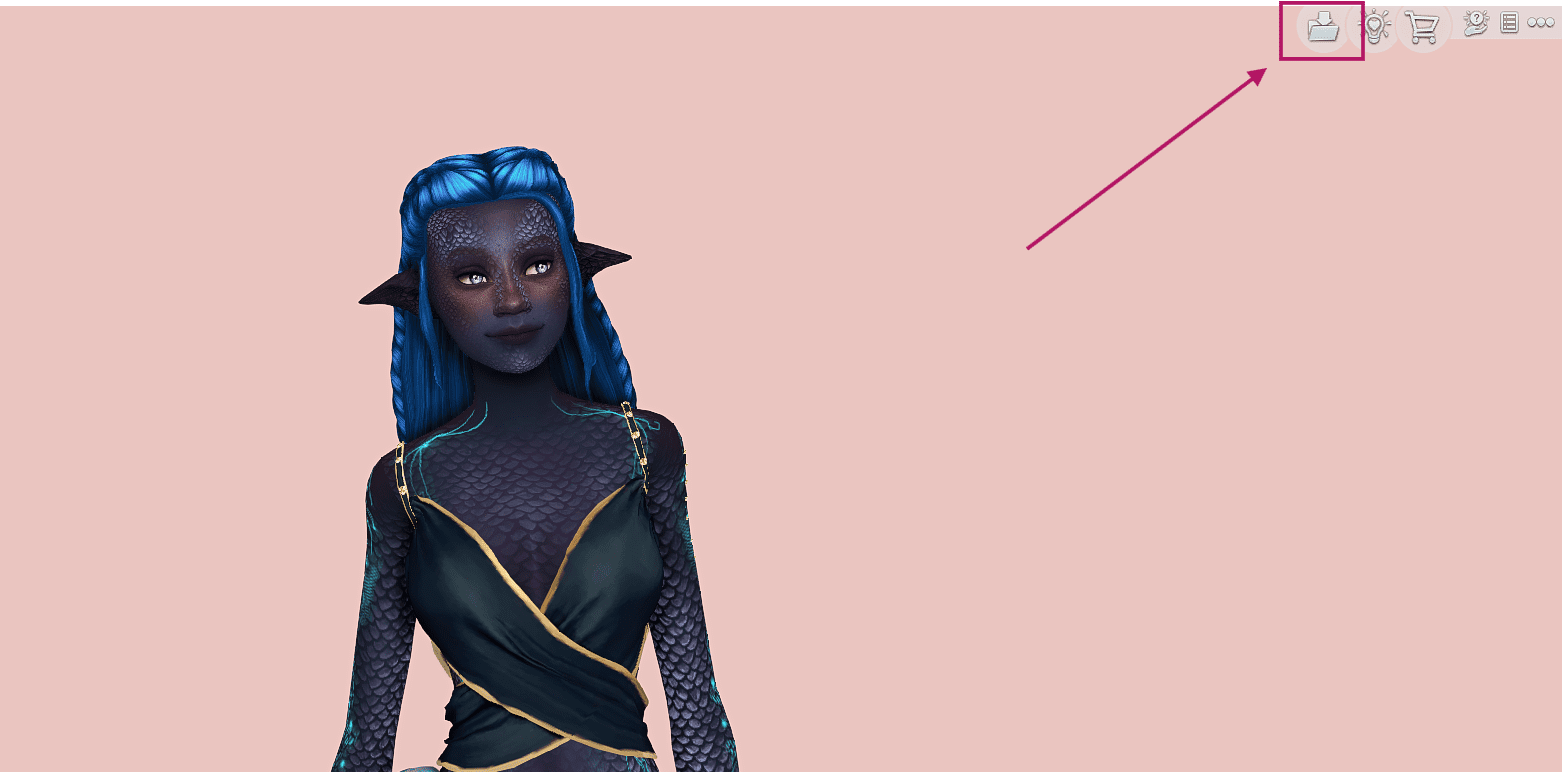
1. Open Sims 4 Tray Importer by Deevo (download at the link).
2. Check in Settings if the path to the root game folder (the one you installed on your computer, not the Documents folder with Mods) is set correctly, as well as the path to the Tray folder.
The Tray path usually looks like:
Documents — Electronic Arts — The Sims 4 — Tray
3. If Tray Importer is working correctly, you’ll see a list on the left of all the objects you’ve saved in your library (lots, families, sims, rooms).
4. Find the needed object by name or using the filters.
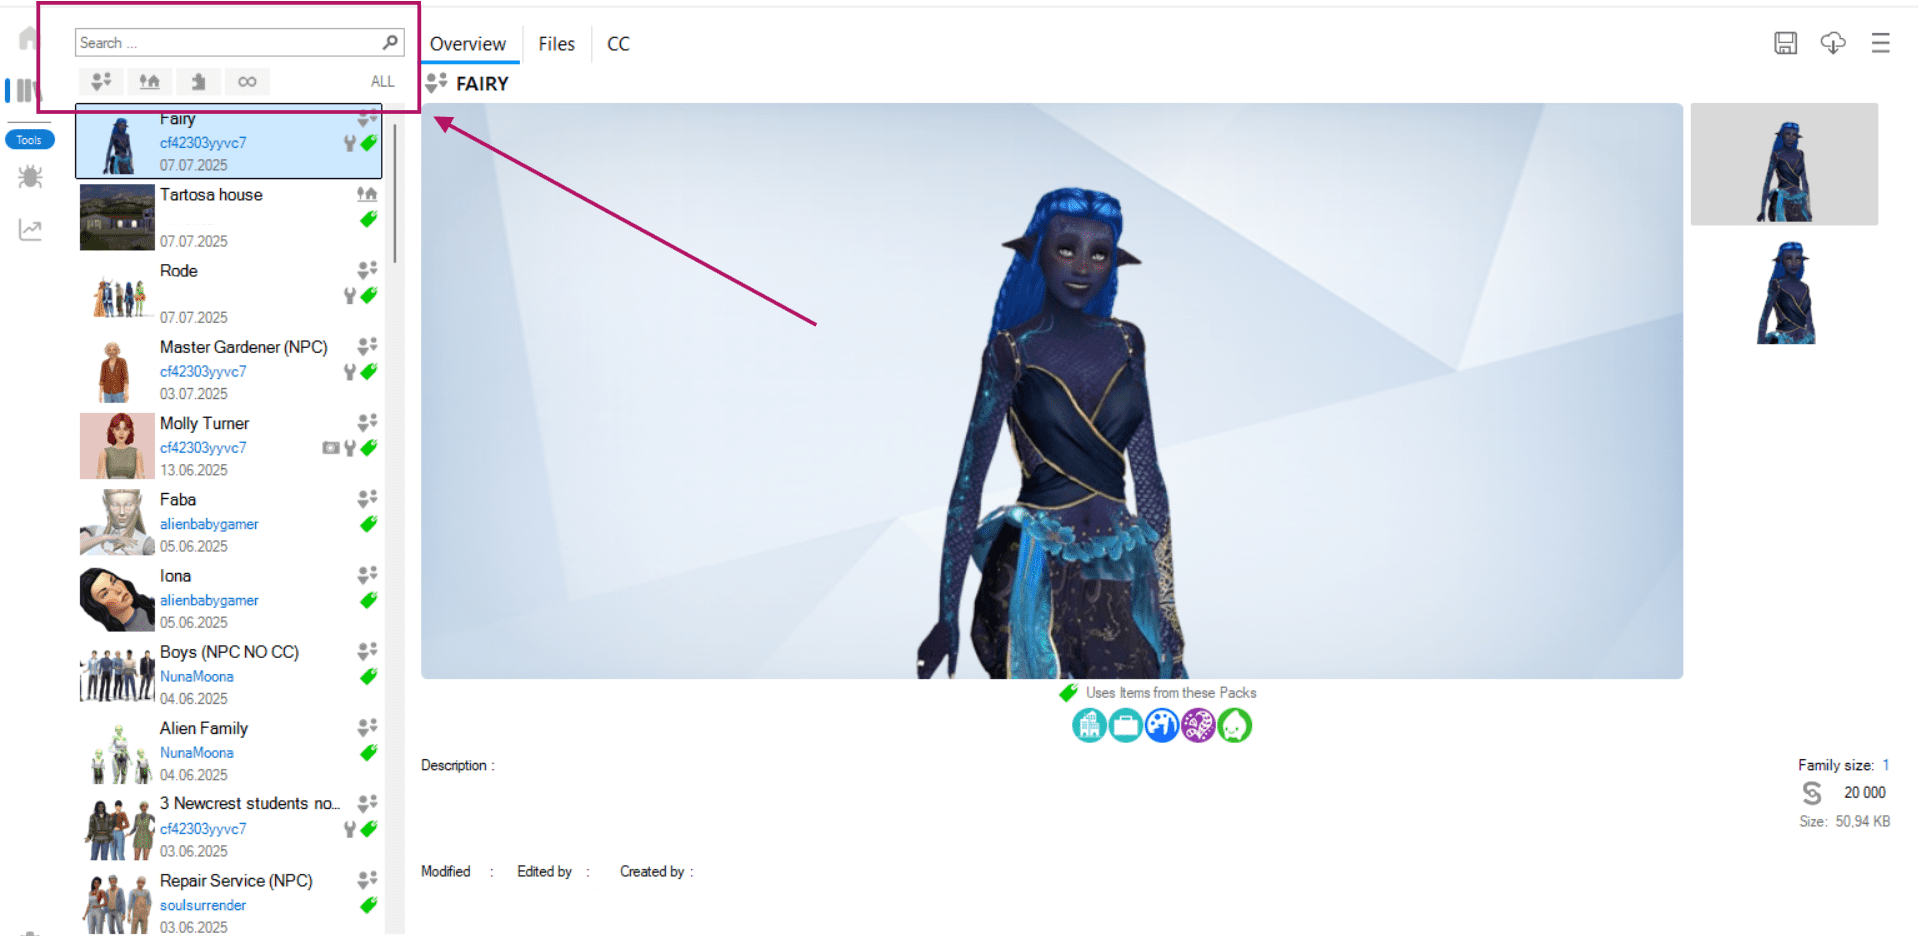
5. Click on it to select.
Step 3 Replacing the image
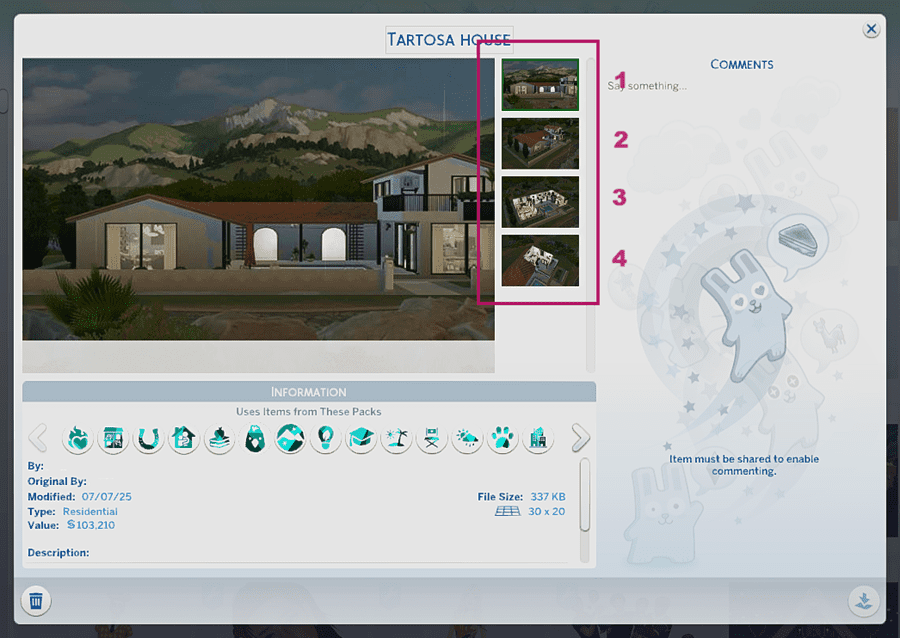
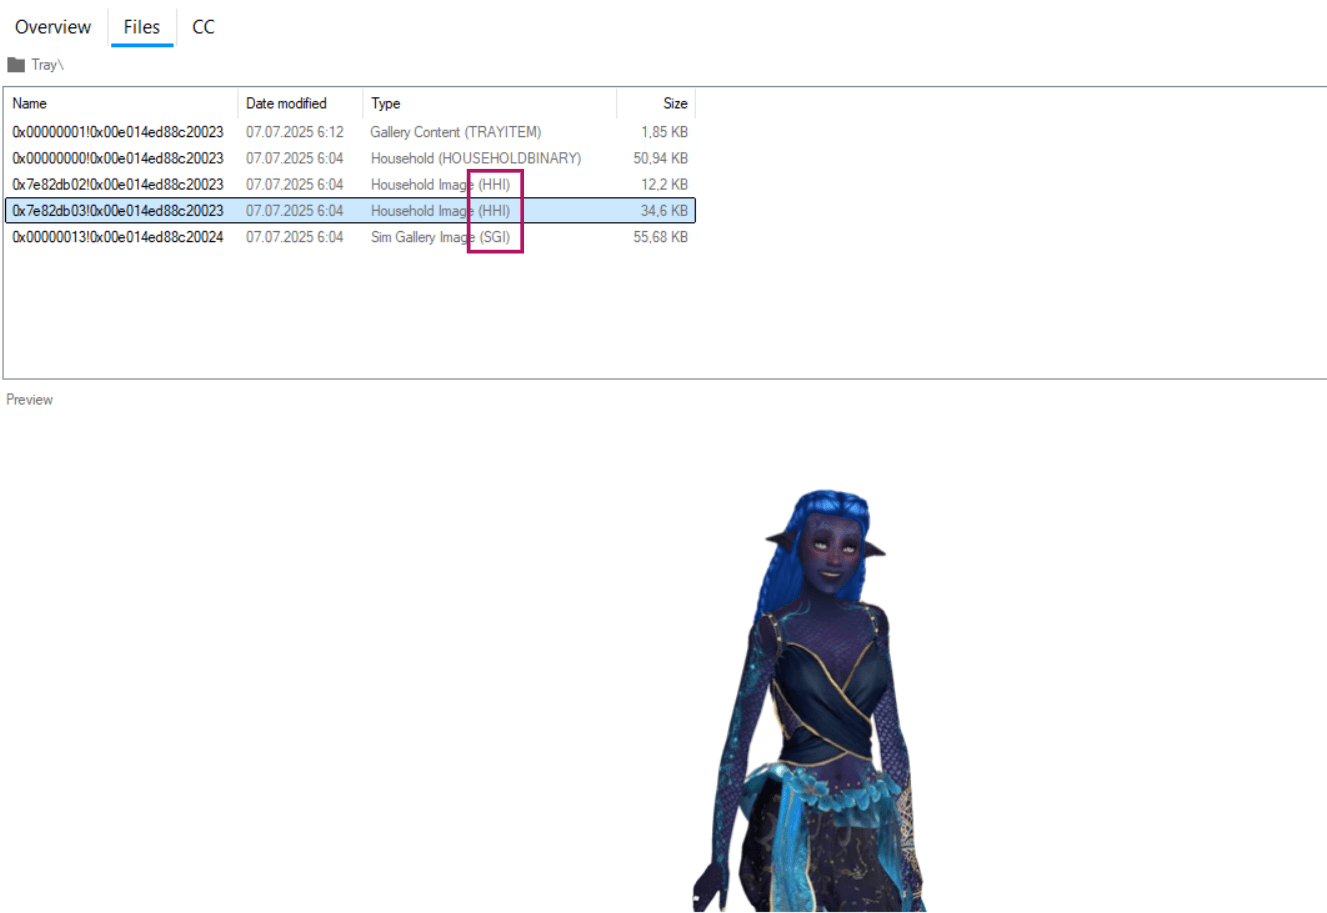
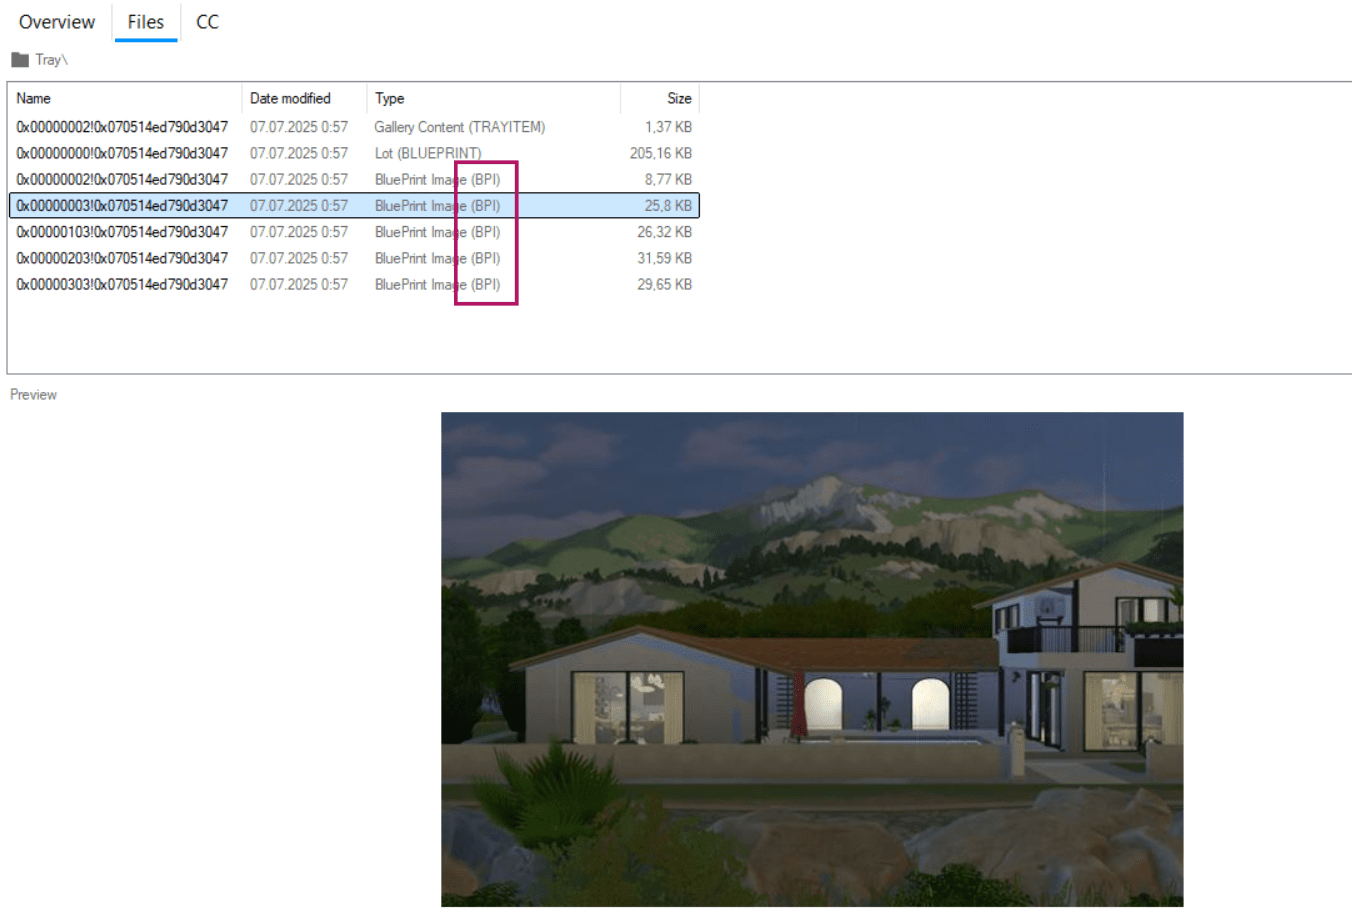
1. Go to the Files tab.
Here you'll see a list of all the technical files that make up your object. Some of them have embedded images.
2. The file types we're interested in:
For lots – (BPI)
For rooms – (RMI)
For families and Sims – (HHI) and (SGI)
If you click on these files, the images inside them will show up below.
3. Right-click any of the suitable files and select Replace.
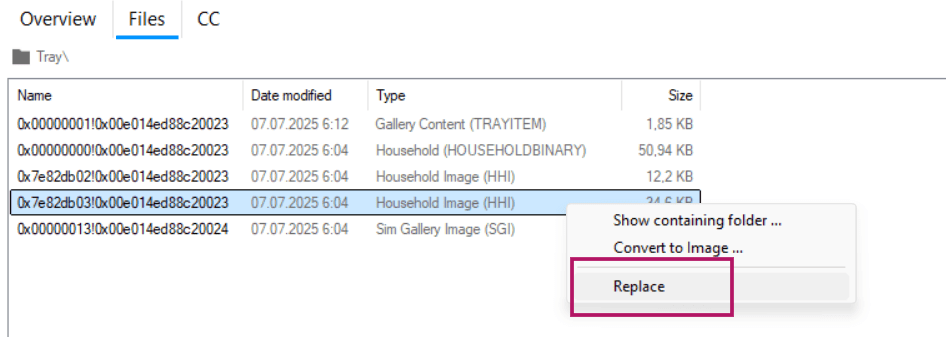
4. In the window that pops up, click on the image you want to replace.
The very first one is the main preview of your object, the one that shows as the thumbnail in the Gallery. It comes in two sizes (you upload your new image once, and it will be used for both automatically).
5. Click Open Image in the top left and upload your prepared file.
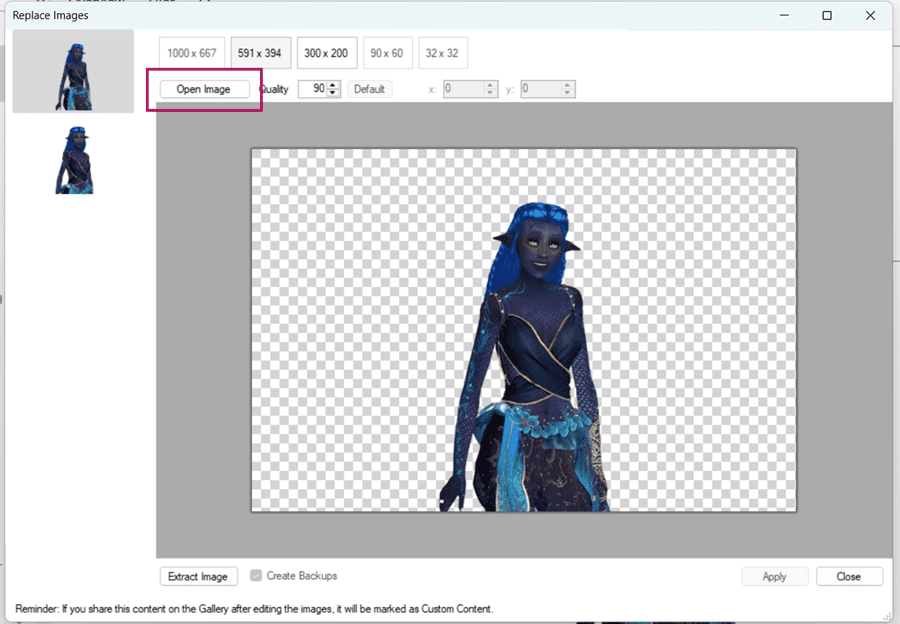
It’s best to use an image in .PNG or .JPG format. The size should be at least 591x394. Don’t worry if your screenshot is much larger than the minimum size – Tray Importer will still ruthlessly compress it.
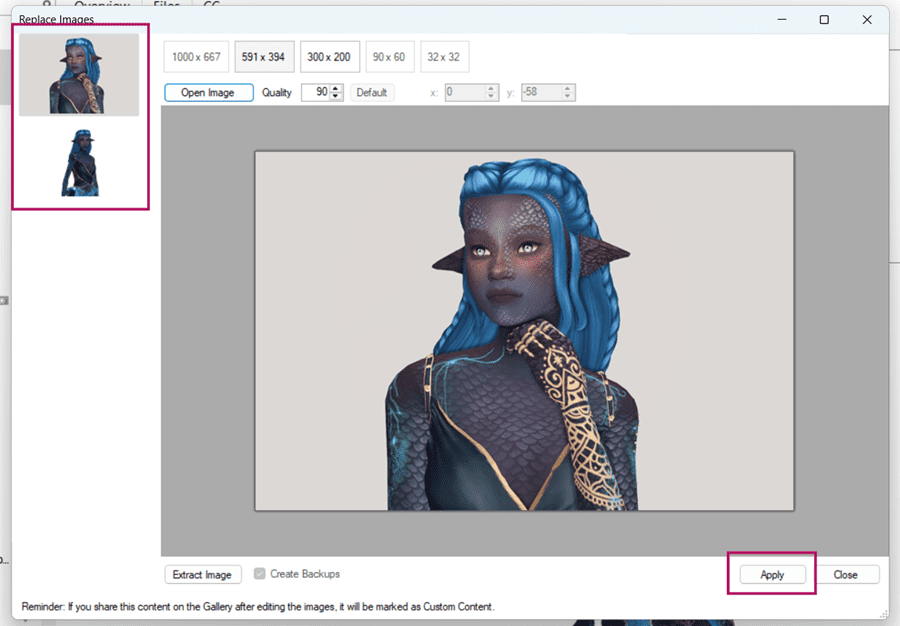
Repeat this for all the images in the list you want to replace.
6. Save the changes by clicking Apply.
Step 4 Check the changes in-game and publish the object to the Gallery

If the pictures didn’t change, try going through all the steps again or change the format of the files you’re uploading.
Can you replace images after publishing?
If the creation is already published in the Gallery, its card will not change after replacing the image through Tray Importer. You need to remove it from the Gallery and re-upload it for public access.
Important! Even if you didn’t use CC when creating Sims or builds, but you changed the images in the Gallery, the game will mark your object as custom content. When recommending someone to download your character from the Gallery, make sure to mention that they need to check the “Include Custom Content” box.